Manual shading layer in Eduard
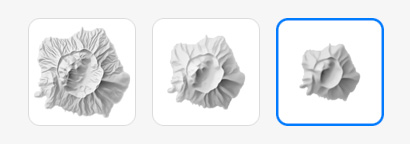
Choose from three shading style at the top in the sidebar.
Left: Large scale : Best for maps showing detailed terrain, and grids with a small cell size.
Center: Medium scale : Best for medium scale terrain. Requires a grid with large cell size. Apply generalization when the cell size is small.
Right: Small scale : Best for maps showing large areas. Requires a grid with large cell size. Apply generalization when the cell size is small.
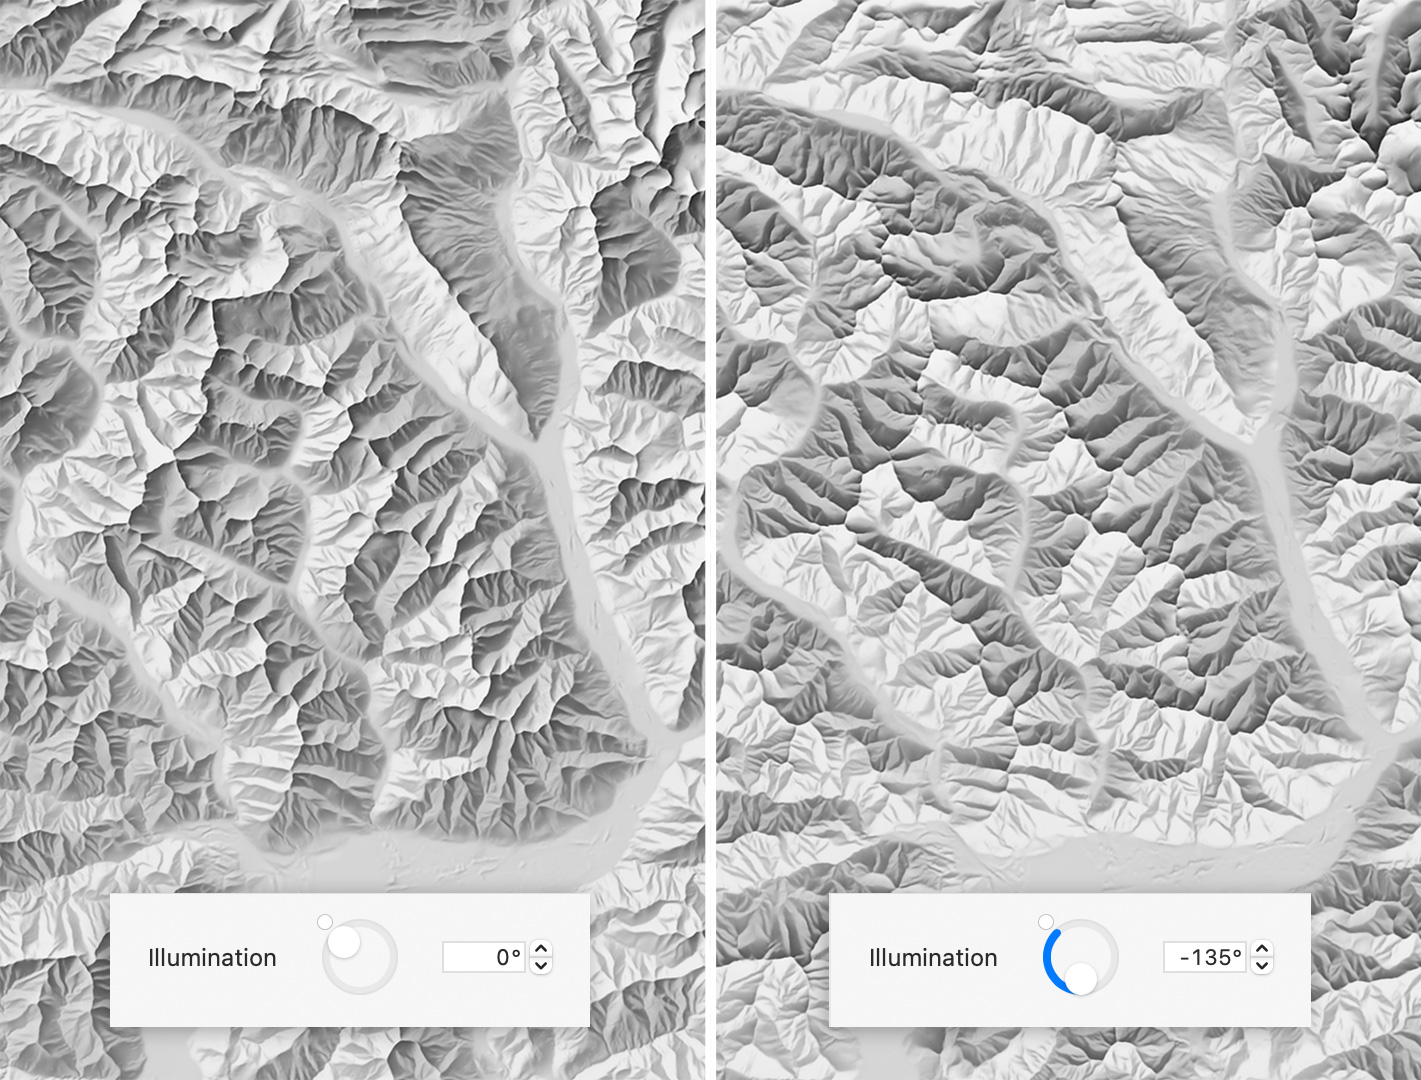
Illumination direction
Adjust the horizontal illumination direction with the round slider. The illumination angle is relative to the default top-left direction.
Click on the small dot at the top-left of the round slider to use the default top-left direction of 0°.
Eduard adjusts the illumination direction locally to improve the readability of small and large terrain forms when you select a manual shading style (that is, the style is not set to Analytical).
For best readability, set the illumination direction to the top-left for most terrains, as shown on the left side on the image below. With an illumination direction from below as shown on the right side on the image below, it is more likely that some readers see mountains as valleys and valleys as mountains.
Generalization for manual shading
Apply generalization to more clearly show large landforms and reduce details. Reducing details often results in relief shadings that are easier to read.
Increase the Macro value to simplify regional macro landforms. Increase the Micro value to remove local micro details. The Macro and Micro values increase or decrease in tandem when either slider is moved. Click on the chain icon to adjust the Macro and Micro values individually.
Recommendable Macro and Micro values vary with the terrain type, the cell size of the elevation grid, and the selected shading style.

Terrain type for manual shading
Terrain Type lets you select the type of landforms in your shading. The slider has two handles.
Right handle
• Move the right handle to the right end of the slider if the shading includes steep alpine peaks.
• Move the right handle to the center of the slider if the shading includes mountains and hills.
• Move the right handle towards the left of the slider if the shading does not include steep hills but mostly flat areas or gently rolling hills.
Left handle
• For most shadings the left handle should be on the left end of the slider.
• Move the left handle to the right side for extreme alpine terrain without flat or hilly areas.
Advice for terrain type
Move the right handle to the left if the shading shows high elevations with too much contrast and sharpness. For example, with a terrain with rolling hills, you move the right handle to a value to approximately 15%. See the image below for an example. If your terrain is very flat, for example, a coastal lowland with very little undulation, it can be useful to move the right handle to a value as low as approximately 3%. Best results often require experimentation and will vary with the selected shading style . The left handle should be at 0 for the vast majority of elevation model.
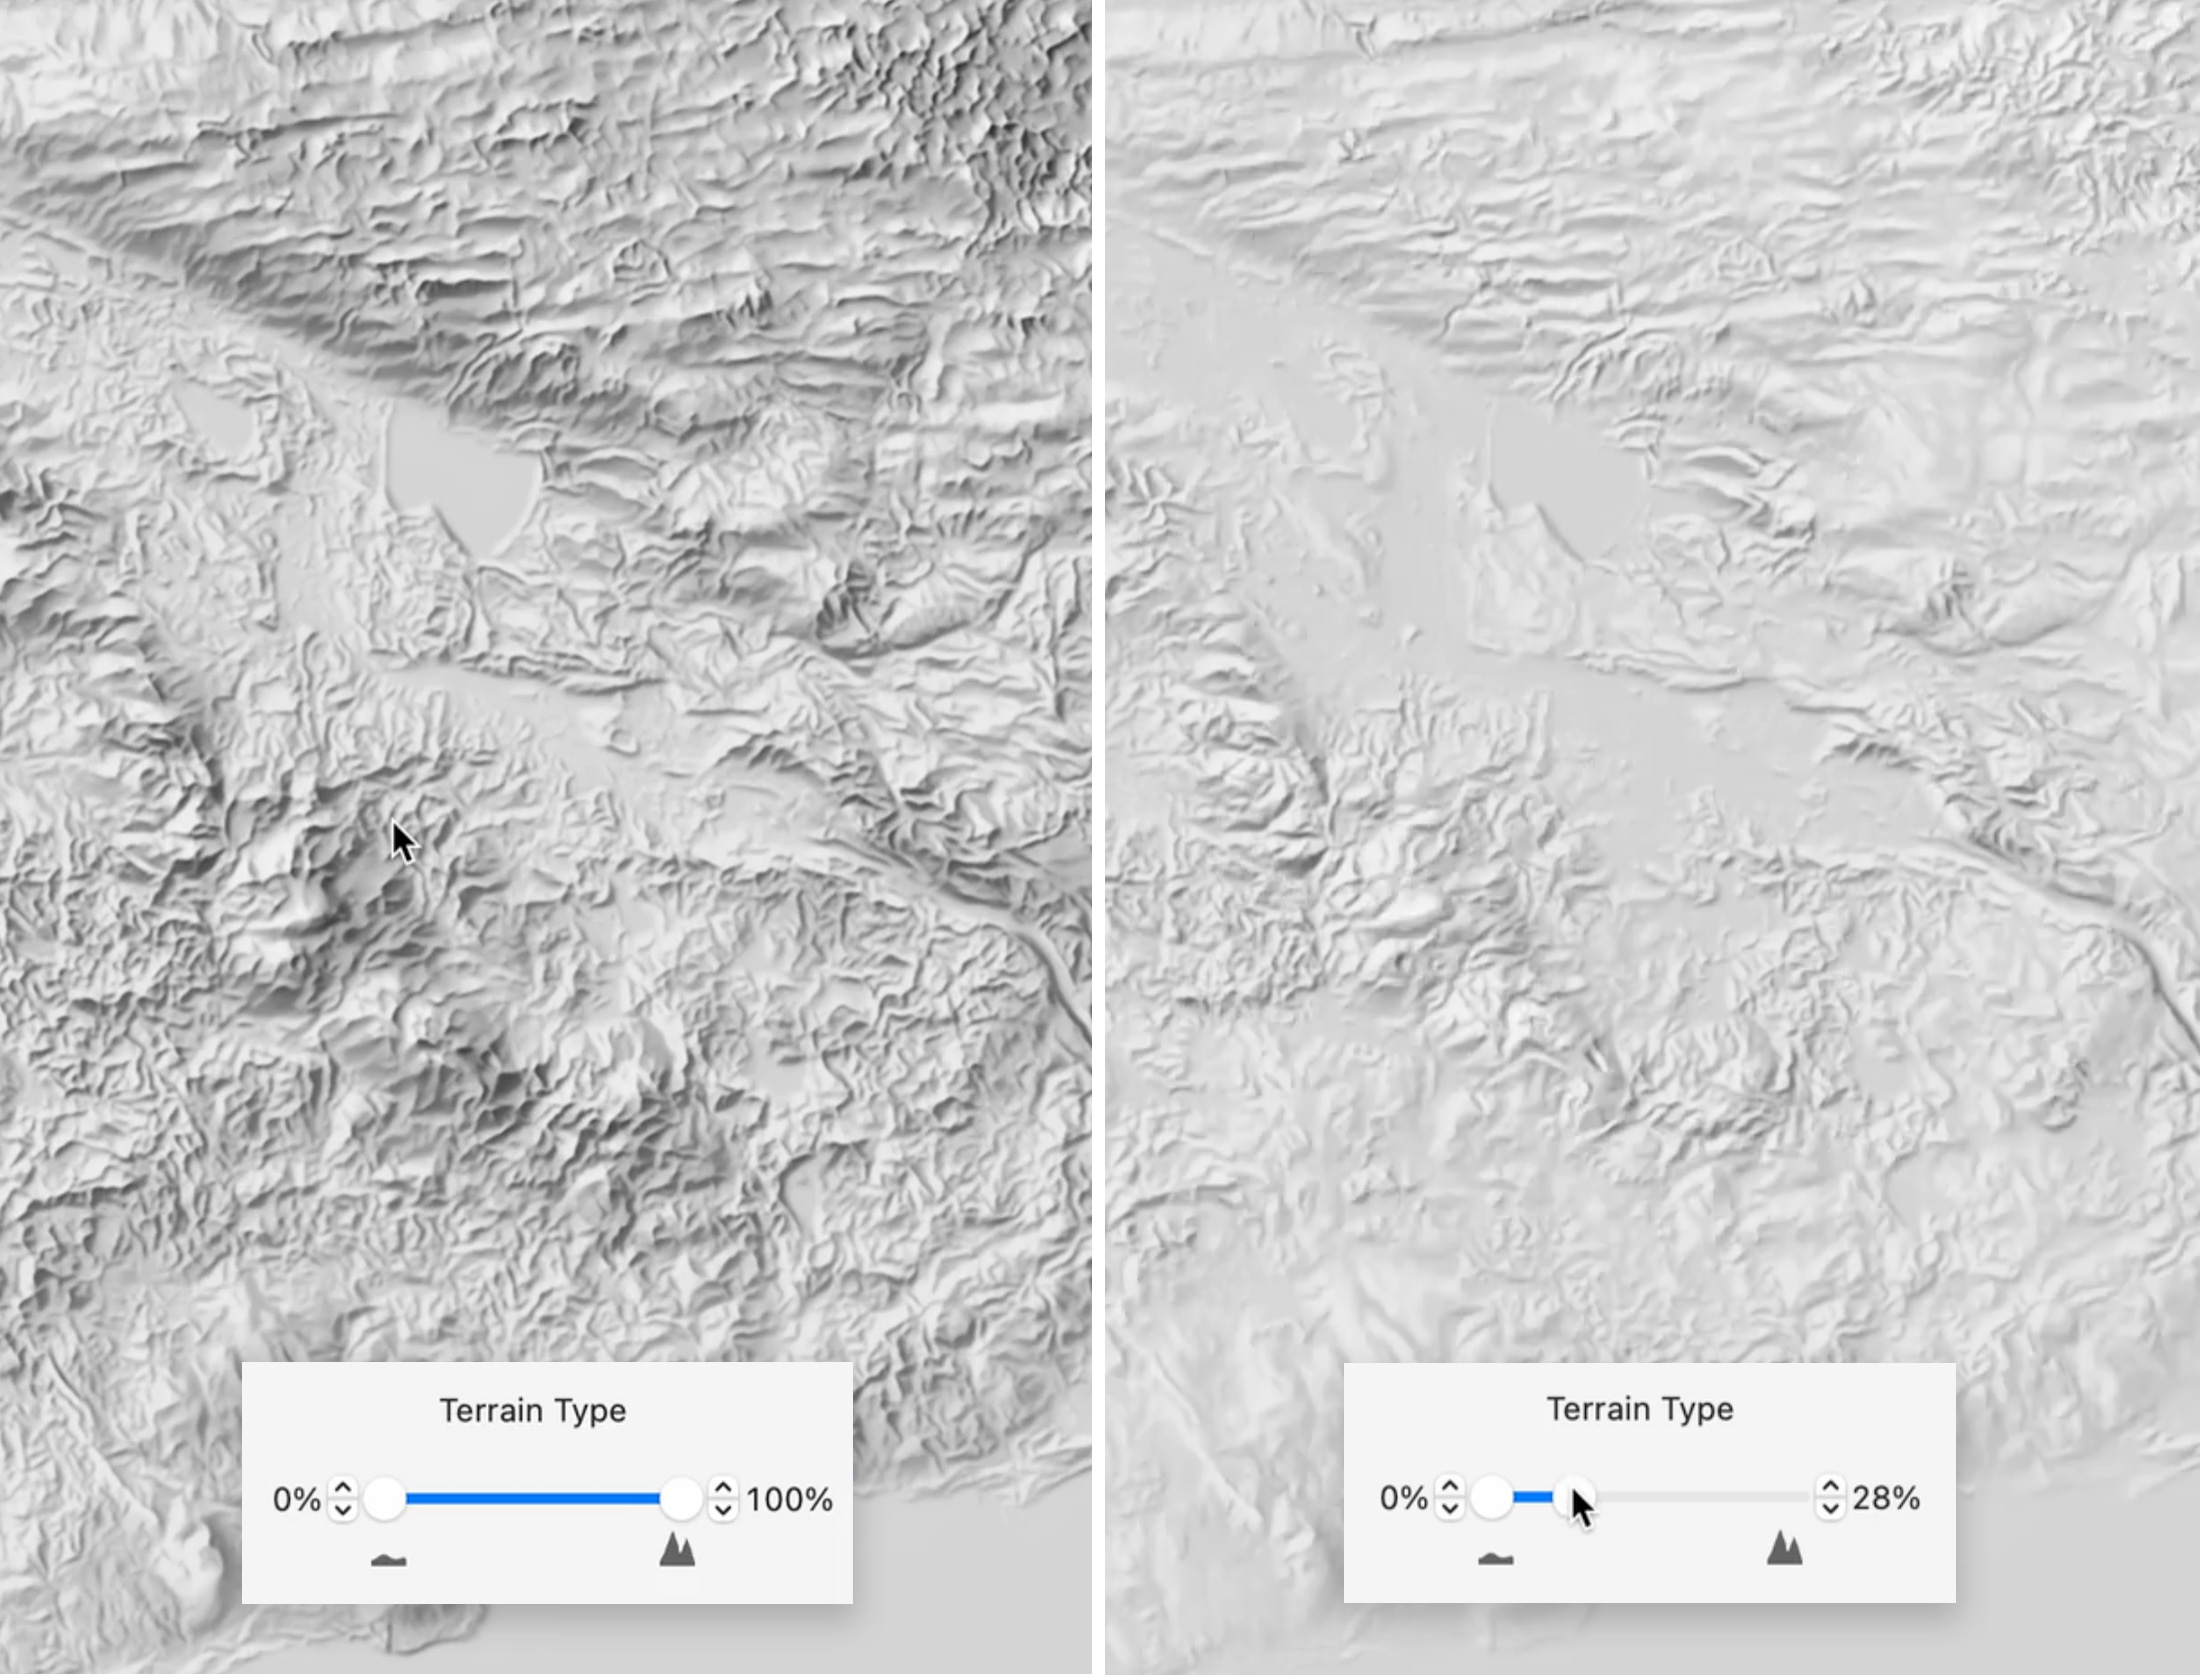
Left: The terrain type sliders is moved to the right, which results in accentuated landforms that look unnatural.
Right: The terrain type slider is adjusted for flat and hilly landforms, which results in an appropriate shading.
Flat areas details for manual shading
Increase the Amount value if flat areas do not show sufficient terrain details. A small amount of flat areas details is appropriate for most terrains.
The Size slider adjusts the size of emphasized details. A value of 0 will result in small emphasized details. With a Size value greater than 0, small details are not emphasized, and flat areas will show more emphasized medium-size and large-size details.
Note: The Amount and Size values only affects flat areas. These settings have no effect if the terrain does not contain flat areas, or if the flat areas are almost perfectly flat.

Note: Eduard had a contrast slider in version 1.3 and before. The contrast slider has been replaced by curve layers, which are more flexible. When opening an old document with a contrast setting, Eduard 1.4 and later replaces the contrast setting with a curve layer with the same visual effect.
See also
![]()