Ambient occlusion layer in Eduard
Ambient occlusion simulates the exposure of terrain locations to ambient lighting. Ambient occlusion adds depth and texture to a shading.
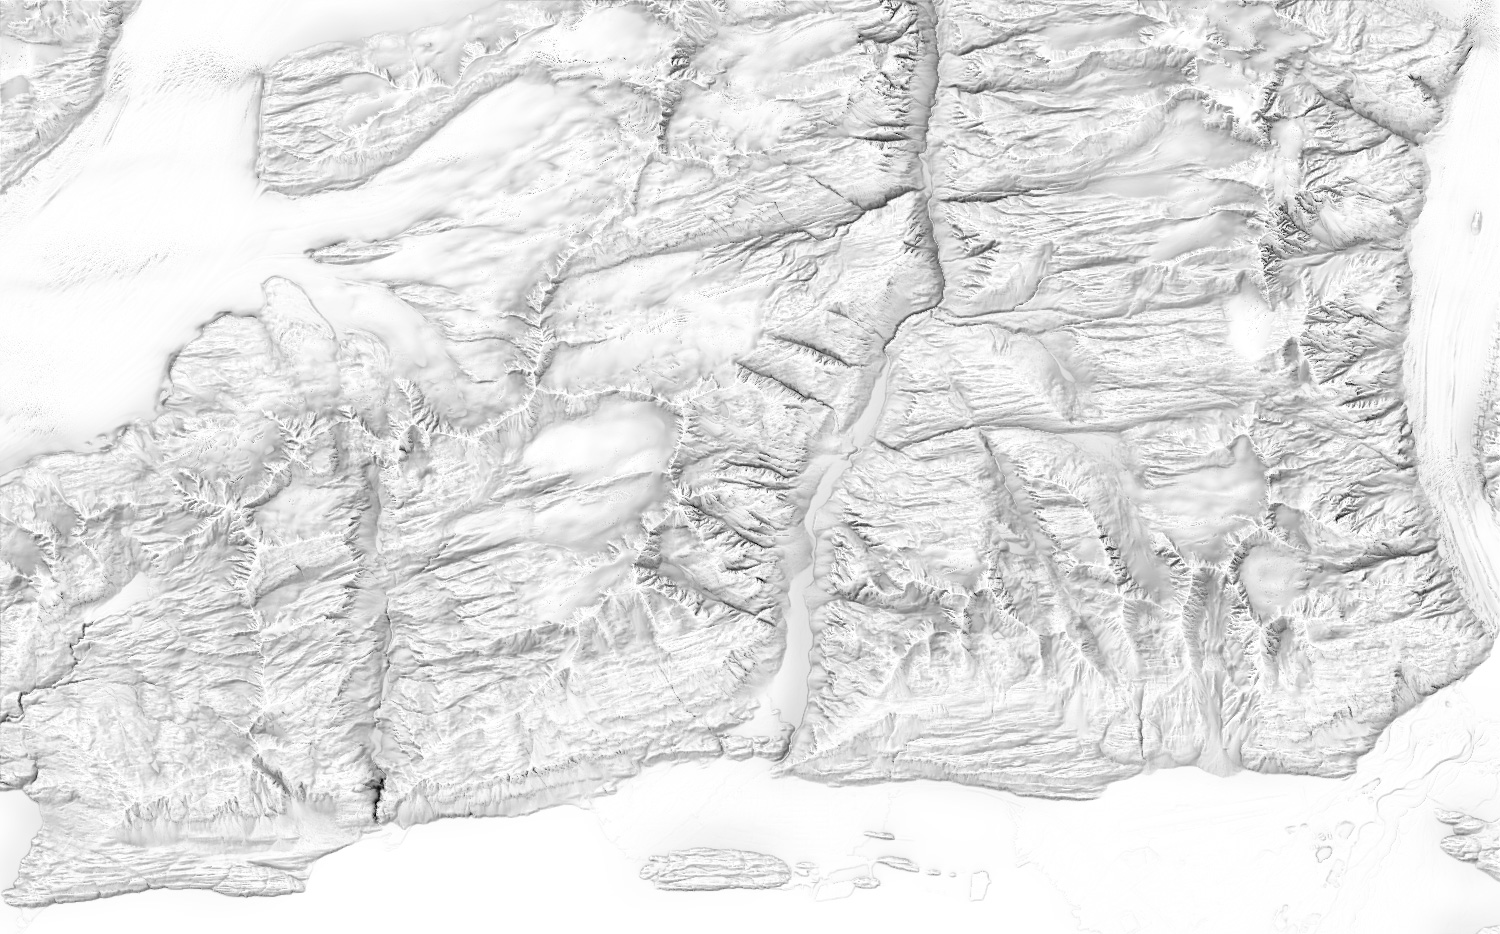
Below is an ambient occlusion shading of Valdez, Alaska.
Adjust the shading amount with the Radius slider. A small radius creates more lines, and a large radius creates an image with darker areas.
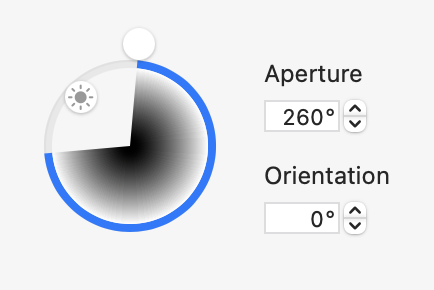
Drag the outer knob to adjust the Aperture angle. This restricts occluding terrain to the aperture angle. A small aperture angle creates a high contrast image, and a large aperture angle creates a smooth image.
Drag the inner knob with the sun to adjust the Orientation of the aperture angle. The default orientation from the top-left at 0° is usually preferable when combining the ambient occlusion image with a shaded relief.
Adjust the granularity with the Details slider. A low details value creates a generalized image that can be useful for blending the ambient occlusion with a generalized relief shading.
Increase the Flat Areas slider for brighter and more continuous shades in flat areas.
Click Anti-Aliasing to remove jagged pixels along steep transitions. This mainly affects abrupt terrain transitions. Anti-aliasing increases computation time.
See also
![]()